Image galleries are image collections that you make available to buyers to use when customizing variable data.
For example, a “Business Person” gallery might contain images of businessmen and women to be used in marketing brochure products. A “Food” gallery might contain graphics of various types of foods for use in menus or foodstuff catalogs. Buyers will select the images to print in certain areas of the document designated on the product template for images.
● To open the Manage Galleries page, go to Administration > Manage Gallery.
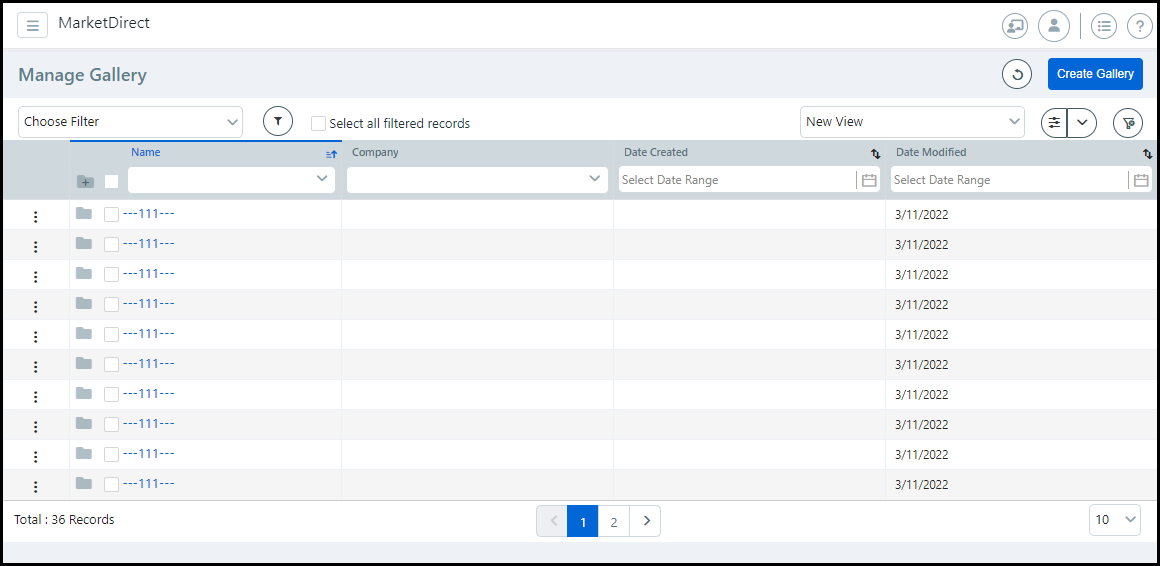
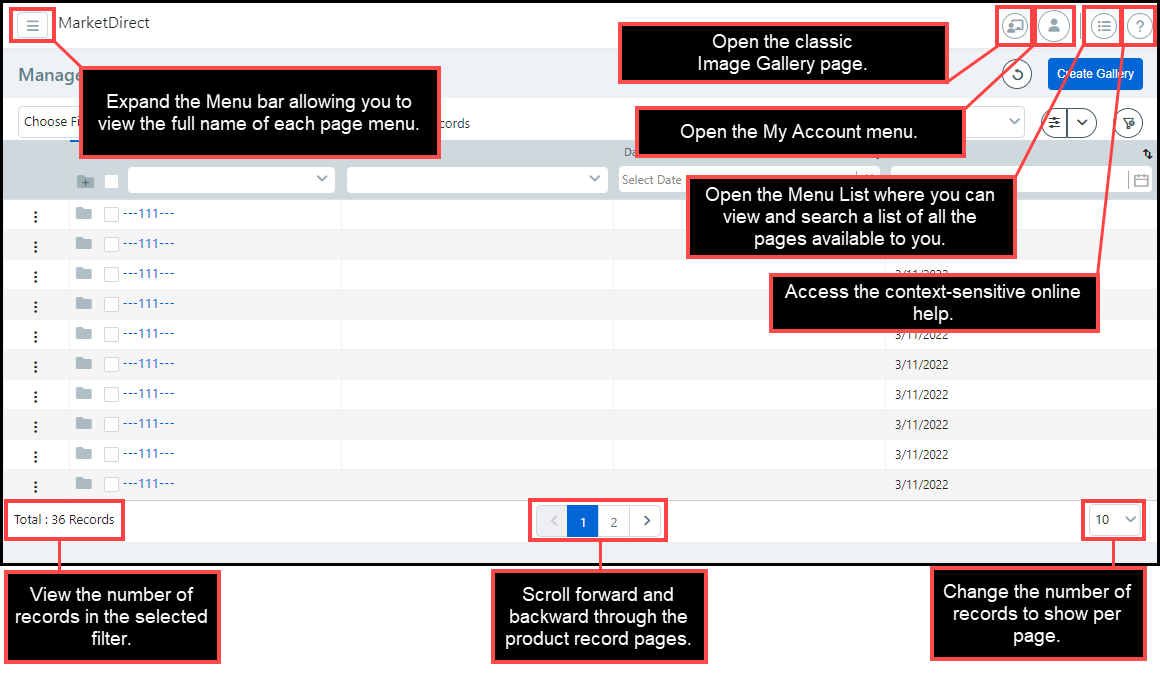
● The image below shows the Manage Gallery page (completely redesigned for v. 13.0) with call-outs describing various elements.

 Introduction
to the Manage Gallery page
Introduction
to the Manage Gallery pageColumn or Control |
Description |
|
Refresh all data on the page. |
|
Launches the process of creating a new gallery from scratch. For more information on a creating a new gallery, see To_create_an_image_gallery. |
|
Quick links icon that opens the Quick Access menu. |
|
Gallery with sub-galleries. The sub-galleries are collapsed and hidden in the table. |
|
Gallery with sub-galleries. The sub-galleries are not collapsed and viewable in the table. |
|
Item selection box. ● Click the column header box to select all records on the current page of the table. ● Click the box on each row to select that record or line item. |
Name |
Name of the gallery. To filter this column: Enter a term or sequence of letters in the Column Header field. |
Company
|
The company (customer) which the gallery is associated. To filter this column: Select an option from the drop-down list in the Column Header field. You can edit this field for each line item by clicking the pencil icon in the field and selecting an option in the Select Company window. |
Date Created |
Date the gallery was initially created. To filter this column: Click the Calendar icon and select the date or date ranges needed in the Column Header field. Galleries that were created prior to version 13.0 will not have a Date Created value because the system did record this data. |
Date Modified |
Date the gallery was most recently modified. To filter this column: Click the Calendar icon and select the date or date ranges needed in the Column Header field. Galleries that were created prior to version 13.0 and were not modified since the 13.0 update will not have a Date Modified value because the system did not record this data. |
Search
and sort dataTo search data
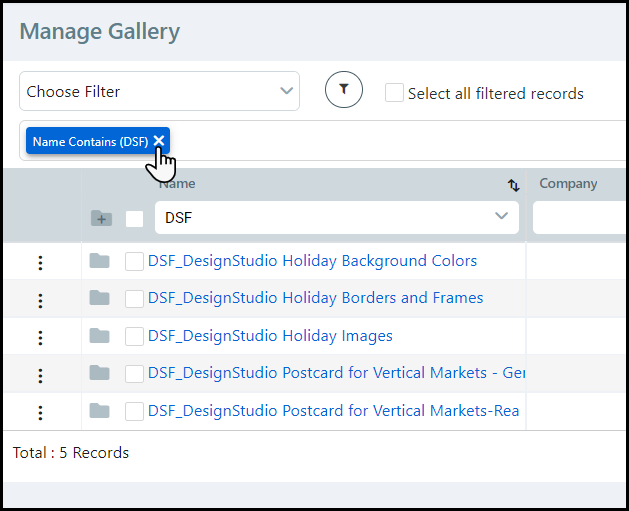
You can search for data using the search capabilities in the heading row of any column.
● For data with user-defined values—such as Name and Company— you can search for partial or complete matches using like search terms entered directly in the field.
You can type any character and press Enter to filter the data without having to select an option from the drop-down list.
● For date related values—such as Date Created and Date Modified—choose the From and To dates from the drop-down calendar.
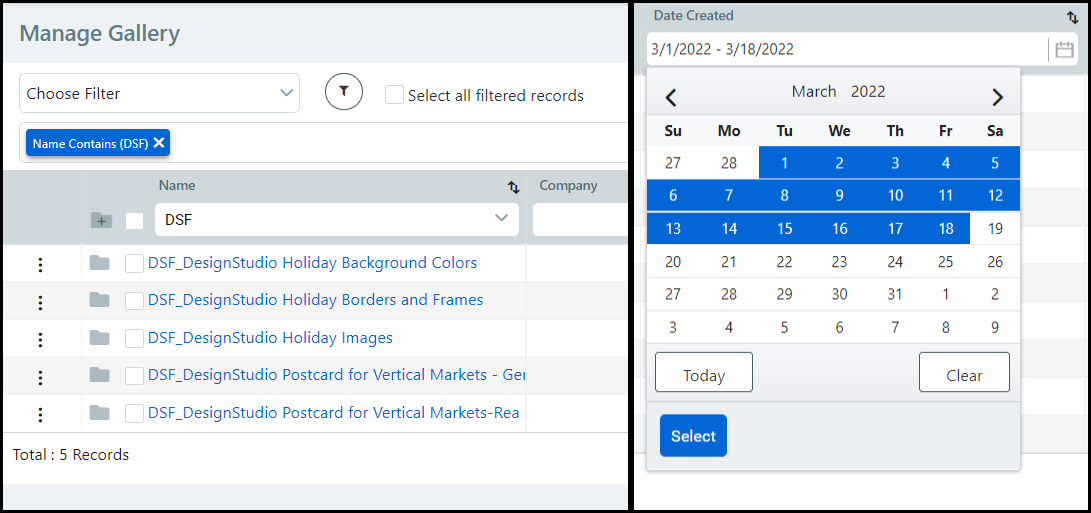
Click the X
in the table header to remove a filter.
To sort data
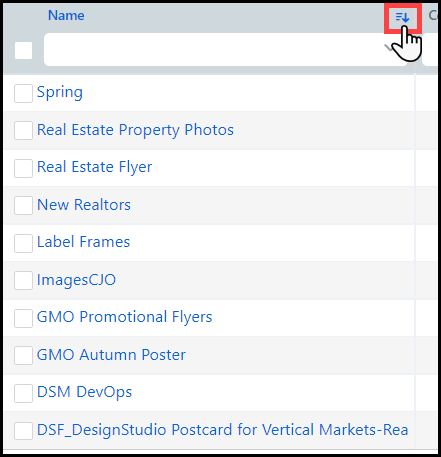
You can select a sort order for data in each column. The sort options will vary based on the type of data in the column, and each data column can be sorted either in ascending or descending order.
● For Alphabetical Data columns such as Name and Company, the sort option will reverse the sort order from A to Z or from Z to A.
● For Calendar Date Data columns such as Date Created and Date Modified, the sort option will reverse the sort order from newest to oldest or from oldest to newest.
Create
a personalized gallery view to suit your workflow needs and preferencesThe Manage Galleries page allows you to customize a view with your preferences so you can specify the data shown and how that data is sorted, filtered, and arranged. You can create any number of personalized views, such as a different view for each workflow. For example, an operator who works only for a specific company, or with a specific gallery, can define a custom view filtered for the Company and Gallery name and then select any personalized view to make it the default for their login (i.e., the view that first appears whenever they access the Manage Gallery page). Any other view will be accessible via a single click from the View pull-down list, and the system default view to show all data in the Galleries table is always available.
The objective is to ensure that gallery data is presented in a way that best suits each administrator workflow.
To create a personalized view
1 Go to Administration > Manage Gallery.
2 Filter the data that you want included in the custom view by specifying the filter options in the data column header text entry field or pull-down list.
Click the X
in the table header to remove a filter.
● Choose the Sort order of any data columns.
For information on how to search and sort through data, see Search and sort data.
3 Resize the width of any columns as needed.
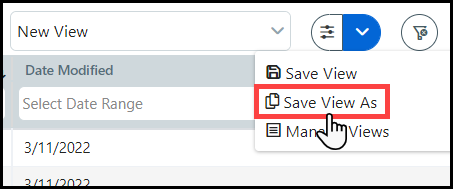
4 Save your view with a new name.
● Click
 and select Save
View As.
and select Save
View As.
● Enter a name for your new view in the Name the View window.
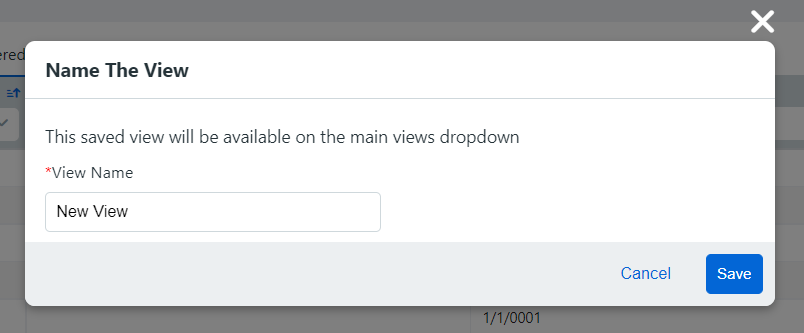
● Click Save.
The new view will be available in the
View list.
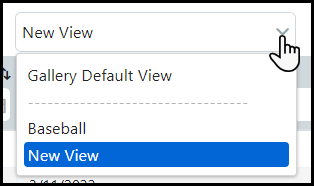
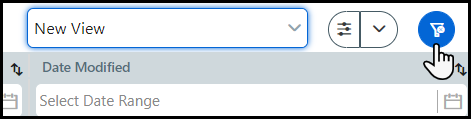
5 Click the un-filter icon to show all the records and data columns in the table.
To make a view the default
The default view will be automatically applied every time you login with your credentials.
1 Click
and select Manage
Views.
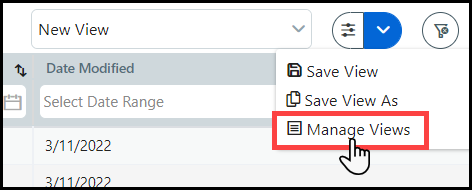
2 Select the white star  in the row of the appropriate view to make it the default.
The current default view is marked with a black star
in the row of the appropriate view to make it the default.
The current default view is marked with a black star  .
.
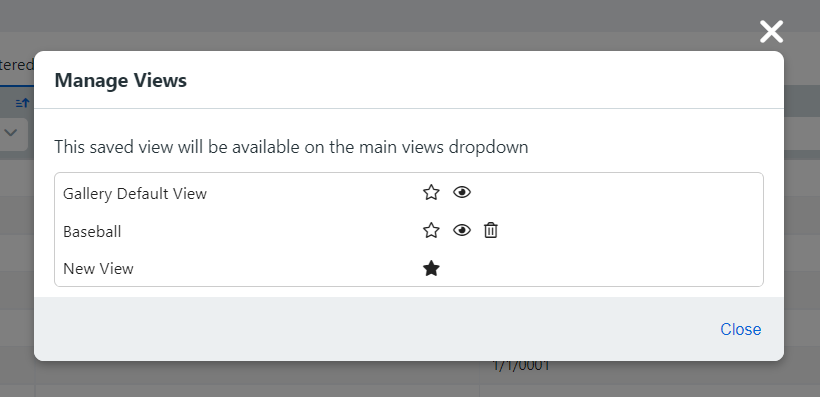
Use the eye icon  to
show or hide any view in the View
pull-down list.
Use the trash can icon
to
show or hide any view in the View
pull-down list.
Use the trash can icon  to
delete any personalized view you created. You cannot delete
the built-in system Gallery
Default View.
to
delete any personalized view you created. You cannot delete
the built-in system Gallery
Default View.
3 Click Close.
Edit
single galleries with quick access linksQuick Access Menu
Use the Quick Access to perform these tasks:
● Modify Security
● Select Company
● Delete Gallery
● Associated Products
To open the Quick Access Menu
1 Hover
on  next
to the appropriate gallery.
next
to the appropriate gallery.
2 Select the appropriate option from the list.
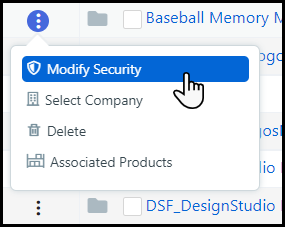
Each option will be discussed in detail throughout this section.
Modify Security
Set or change the security settings for the selected category.
1 Hover on
and select Modify
Security.
2 Assign permissions to selected users, groups, companies, or departments to Use and/or Manage the gallery using the settings in the Change Gallery(ies) Security window.
_Security_window.png)
For more information on category security, see the help topic Security.
3 Click Save.
Select Company
Associate the gallery with a company.
1 Hover on
and Select Company.
2 Choose a company to associate with the gallery in the Select Company window.
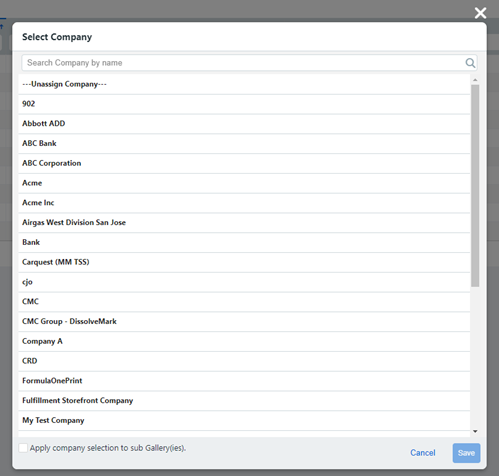
You can use the Search Company by name field to search for a specific company.
3 Click Save.
Delete Gallery
Delete the selected gallery.
1 Hover on
and select Delete.
2 Click OK in the Delete window.
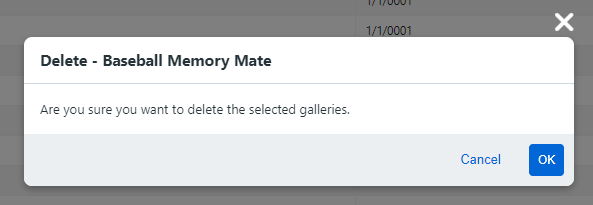
Galleries cannot be recovered once they are Deleted.
Associated Products
View a list of products associated with gallery.
1 Hover on
and select Associated
Products to view
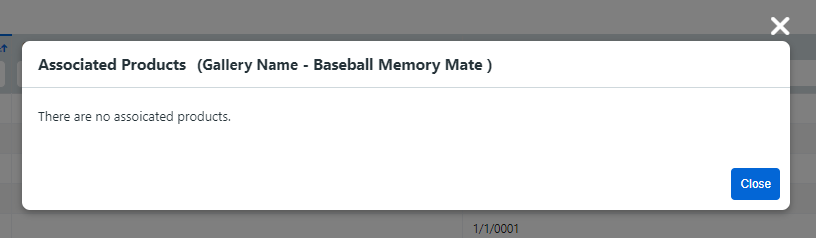
a list of products associated with gallery in the Associated
Products window.
Edit
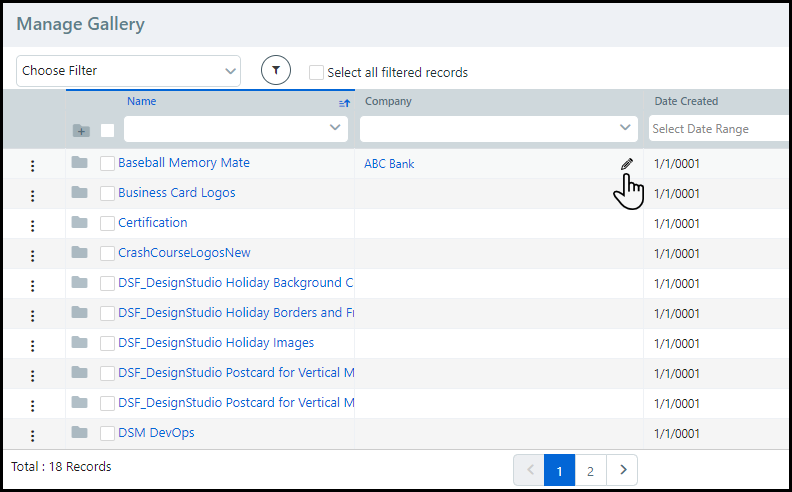
single galleries with in-line editingIn-line editing enables you to edit the Company column without leaving the Manage Gallery page.
1 Hover on the row with the company you want to edit.
2 Click
the edit icon ( ).
).
3 Choose
a company to associate with the gallery in the Select Company
window.
You can use the Search Company by name field to search for a specific company.
4 Click Save.
Perform
bulk processing operations on selected galleriesThe bulk processing feature lets you manage large gallery data sets efficiently by executing various tasks on all selected galleries at the same time. The bulk operation tasks include:
● Modify Security
● Delete
● Select Company
1 Apply all the necessary filters to isolate the subset galleries you want to bulk process.
2 Click the Select all filtered records check-box or manually select individual galleries by clicking the check-box next to the Gallery name.
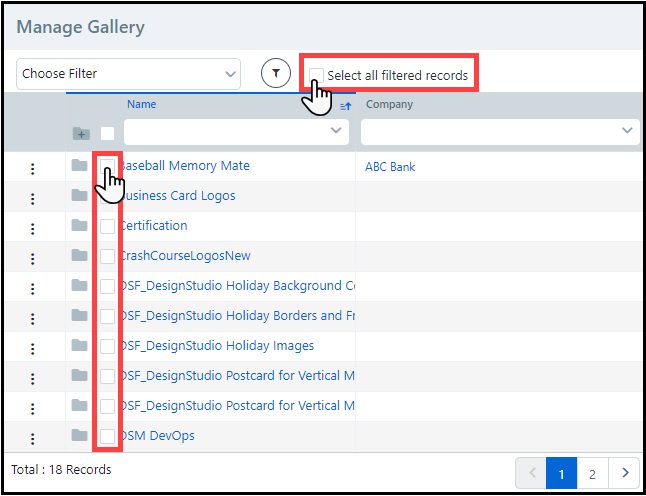
3 Choose the appropriate bulk operation task from the Bulk Operation panel.
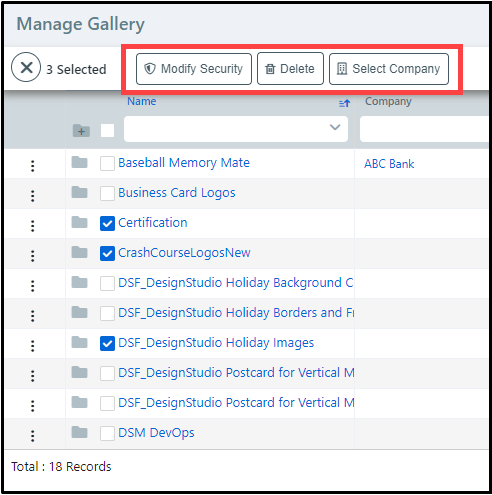
● Modify Security: change the security settings for all selected galleries.
● You can assign permissions for all selected galleries using the tools in the Change Gallery(ies) Security window.
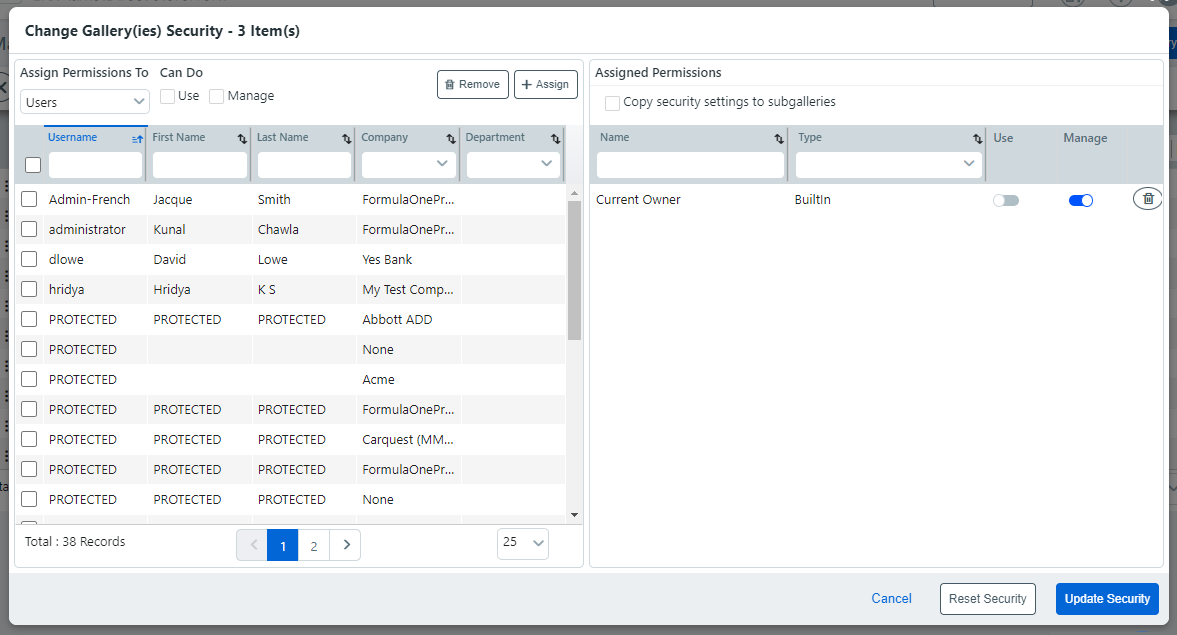
For more information on category security, see the help topic Security.
● Click Update Security.
● Delete Gallery: delete all the selected galleries.
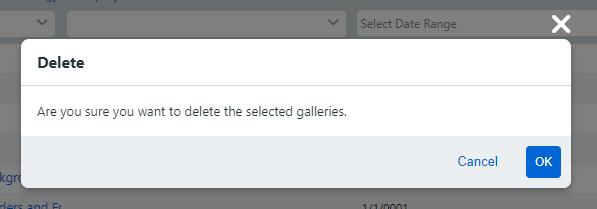
Galleries cannot be recovered once they are Deleted.
● Click OK.
● Select Company: either associate all selected galleries with a specified company or remove the company association for all selected galleries.
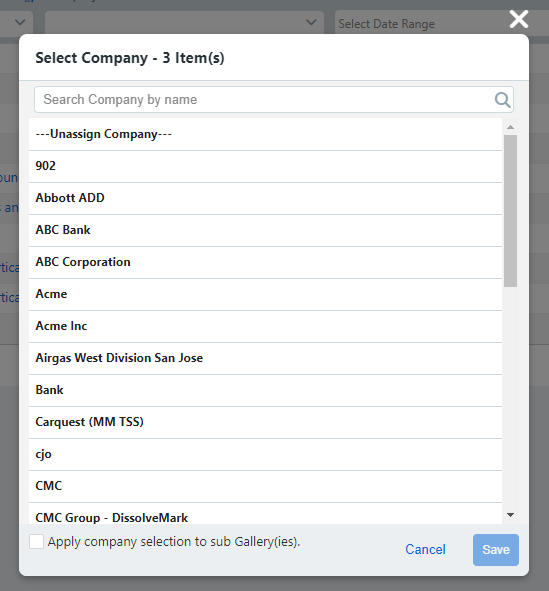
● To associate all selected galleries with a company:
● Choose the appropriate company in the Select Company window .
● To remove the associated company from all selected galleries:
● Click Unassign Company in the Select Company window.
● Click Save.
Create
an image gallery1 Click Create Gallery.
2 On the Gallery Information page:
● In the Gallery Name field, type a name for the new gallery.
● Click Save.
3 In the Images in this gallery section:
● Click Add Image to add an image(s) to a gallery (supported formats are .jpg, .jpeg, .tiff, .tif, .png, .bmp, .gif, and .pdf):
If you add a multi-page PDF file, the first page will be converted to a jpg image file and displayed in the Image Gallery (for thumbnail display purposes). Please note that the entire PDF (i.e., all pages of a multi-page PDF file) will be available for use in VDP products at their native resolution. Thus, when a buyer selects the PDF file for use in creating a product, the entire multi-page PDF file will be included (and not merely the first page). Thus, if you only want to use the first page of a PDF file as an image for use in products, create an image of only that single page.
Use the Add Image option to add one or a few images to a gallery. Use the Import Images option to add multiple images from a zip file.
● Click Browse... and select an image on File Upload dialog then click Open.
● Type a Caption describing the image (if you want a caption other than the image file name, which populates the caption field by default).
● Click Upload File.
● Repeat the steps above to upload an additional image(s) to the gallery.
● Click OK.
● Click Associate Images to associate previously uploaded images with the new gallery. On the Associate Images dialog:
● Select the gallery whose images you want to associate with the gallery you are creating.
● Use the Filter and search fields to help you locate files in the galleries.
● Click OK.
● Click Import Images to import a zip file of images to the gallery.
● On the Import Images page, click Upload Image(s).
● On the Upload dialog:
● Click Browse... and select the zip file containing the images you want to import to the gallery.
● Click Upload.
● All images in the zip file will be displayed in the table.
Image thumbnails are automatically generated.
● Type Keywords and Captions for each image to help you locate them. (The caption field is populated by the image file name by default.)
● Click Import Selected Image(s).
4 Click Security.
Assigning
Ownership and Access Rights for the Image Gallery:
In this section you can assign an owner for the image gallery
and set permissions to restrict access to it. This lets you
make the gallery available to one user group but not to another.
The security option lets you assign management and publishing
rights for an image gallery:
Use: can access and
use the image gallery
Manage: can add and
remove images from the gallery
● Click Change to add or change who owns (is in charge of) the image gallery.
● On the Select Owner dialog:
● In the first drop-down select the category of user to assign ownership of the image gallery to: Users, Groups, Companies, or Departments.
The search field will help you locate the group or user you are looking for, and the Show field will limit the number of items displayed.
● Click the user, group, company, or department to assign ownership to.
The function of “owner” is to ensure that someone can always get to the image gallery (even if s/he does not otherwise have access rights). It exists in order to prevent a situation in which you would inadvertently configure yourself out of access to the image gallery.
● Click Add User, Group, Company, or Department.
● On the Select Security Principal... dialog:
● In the first drop-down select the category of user to whom to assign access to the image gallery: Built-in Groups, Users, Groups, Companies, or Departments.
The search field will help you locate the group or user you are looking for, and the Show field will limit the number of items displayed.
● Click the group, user, or company to assign access to. The selected user, group, or company will display on the Security page in the Access Permissions table. You can grant users the right to Use the image gallery and/or Manage (modify) it.
You can retract access permissions at any time by clicking Remove for the user, group, or company in the Access Permissions table on the Security page.
● Click Check Permissions For... and select the user, group, company, or department whose permissions you want to check. A new dialog will display the permissions for the selected entity.
● Click Update to save your changes or Cancel to abandon your changes.
Delete
an image(s) from a gallery1 Click the name of the gallery from which to delete an image(s).
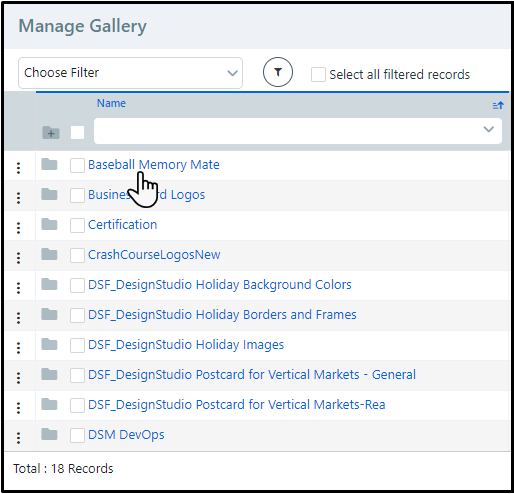
Warning: Deleting an image will remove the image from all associated galleries and from the system. If you want to remove an image from the gallery but not delete it from MarketDirect StoreFront, see To remove an image(s) from a gallery.
2 On the Gallery Information page, check the box/es of the image/s you want to delete from the gallery.
3 Click Delete Image.
4 Confirm your choice on the Alert! dialog: Click Delete to continue or click Cancel to cancel the deletion.
5 Click Update to save your changes or Cancel to abandon your changes.
Remove
an image(s) from a gallery1 Click the name of the gallery from which to remove an image(s).
2 On the Gallery Information page, check the box(es) of the image(s) you want to remove from the gallery.
3 Click Remove from Gallery.
4 Click Update to save your changes or Cancel to abandon your changes.
● To create a FusionPro variable data product, see FusionPro Products.
● To use image galleries, see Image Galleries.
● To use data sources for variable data products, see Data Sources.
● Variable Data Products - VDP
● To manage products on the Manage Products page
● To create an ad hoc, non-printed, kit, or static product
● To create a variable data product (FusionPro)